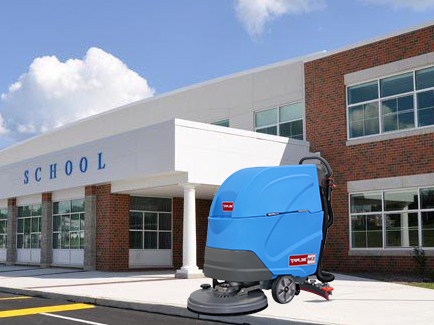
Of course. Cleaning a school with a floor scrubber is an efficient way to maintain hygiene and appearance. Here is a comprehensive guide covering the process, best practices, and safety tips.
A successful clean starts with proper setup.

1. Safety First:
-
Post Signs: Place “Wet Floor” caution signs at all entrances to the area you’ll be cleaning.
-
Wear PPE: Wear slip-resistant shoes and safety goggles, especially when handling chemicals.
2. Clear the Floor:
-
Remove as many obstacles as possible. Have teachers and staff stack chairs on top of desks at the end of the day.
-
Pick up large debris, rocks, or paper clips that could clog the scrubber’s vacuum system or scratch the floor.
3. Inspect the Machine:
-
Bateria: Ensure the scrubber is fully charged.
-
Tanks: Check that the recovery (dirty water) tank is empty and the solution (clean water) tank is filled with the correct dilution of floor cleaner and water. Always follow the manufacturer’s instructions for chemical ratios.
-
Squeegee & Brushes: Visually inspect the squeegee for cracks and the scrub brush/pad for wear. Ensure the brush or pad is installed correctly.
4. Choose the Right Pad or Brush:
-
For light cleaning/dust mopping: Use a white or tan fine-grade pad.
-
For general daily cleaning: Use a green or blue medium-grade pad.
-
For stripping wax or heavy scrubbing: Use a black coarse-grade pad or a abrasive brush.
-
For disinfecting: A clean pad used with a disinfectant cleaner is crucial.
 Tanjie Limpo


